|
|
954RR Brow Light Mod | |
|
|
I'd like to take credit for coming up with this mod, but I'm just not that clever. I got the idea and some directions off the forums at the Honda Sportbike Network, where I believe credit has to go to 1sic954rr for being the first to do it there, and to YakSpout for the relay wiring post. Also credit has to go to HondalGal over at FireBlades.org, I believe she was the first one to do it over there. Like I said, I don't come up with this stuff, but I do plagiarize very well, just ask my high school English teacher ;-)Just a quick disclaimer... I make no guarantee, warrantee, or promise that you won't royally screw up you bike by following these instructions. If you drill through your headlight, sorry but I'm not going to buy you a new one. Take your time, measure before you cut/drill and use common sense and you SHOULD be ok, but like I said I'm not promising anything. Hell, I don't even know what I'm talking about most of the time!You'll notice that I have pics from two different bike, one is mine the other is my brothers. This is my first tutorial of any kind so I didn't get all the pics I needed the first time around (or the second either for that matter) OK, on to the fun... |
|||
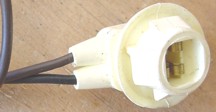
Tools and suppliesCordless drill Drill bits (I used a 1/8 and a 1/8 - 11/16 Uni-Bit) 10mm socket 5mm hex bit socket #2 Philips head bit or screw driver Wire strippers/cutters Utility knife A helper (only for a few minutes) A pair of 194 marker light sockets, I picked some up at Auto Zone for around $3.50 a piece (Cal-Term brand). You can also order the European (they get all the cool stuff) wire harness from here, from what I hear you only need 1 (it has two sockets) and it's a Honda part.
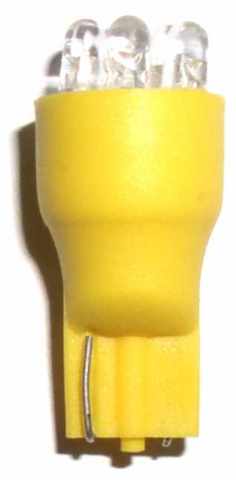
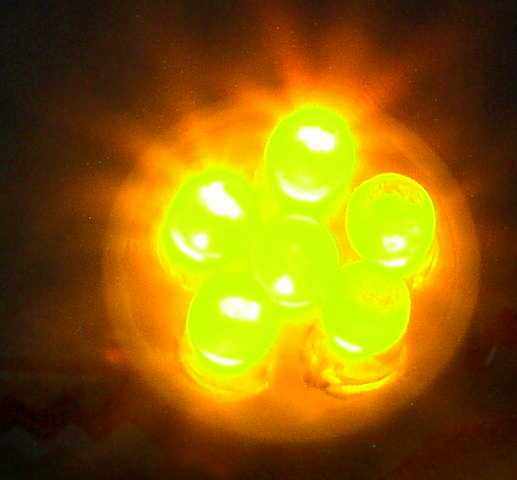
A pair of 194 marker lights, I picked up a pair 194s consisting of 6 LEDs in a 194 light package from these guys. These are very bright, will last damn near forever and they don't get hot (more on that latter).
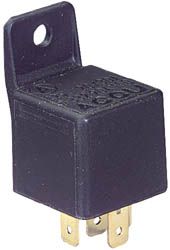
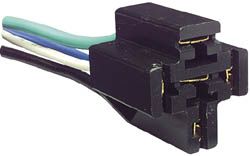
A pair of 12v relays and wiring harnesses. You only need these if you want to use the brow lights as running lights and turn signals. As I had a pair of flush mounts for my front turn signals, I wanted to make sure oncoming traffic could see that I was turning. I just didn't think the flush mounts were that visible head on. Get the relays. Get the harnesses. If you only want to use the brow lights as running lights OR turn signals then you can forgo the relays.
|
||||
Front faring removal |
||||
 |
First, if you have the stock turn signals, or aftermarket turn signals that use the stock mounting locations remove them. I have aftermarket flush mounts, so I don't need to remove them to get the front faring off the bike. And if you do still have the stock signals, don't you think it's time to get rid of them? Now would be a good time. The picture shows the right side stock signal mount area, you'll notice mine is cut away. | |||
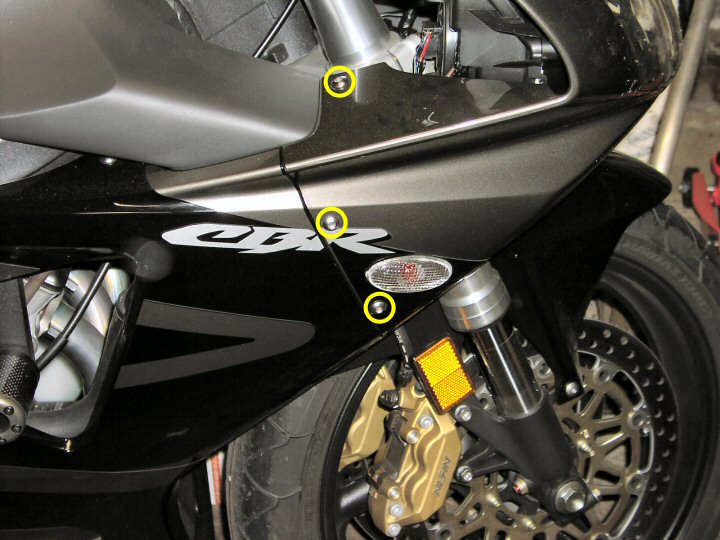 |
I started by removing the front faring. You need to remove the three button head faring screws on each side of the bike. Right side shown, screws circled in yellow | |||
 |
Next remove the two plastic body clip thingermagigers next to the front of the air intake covers on both sides. Just a 1/4 turn with a Philips head screw driver and then they pull right out. Right side shown, screws circled in yellow | |||
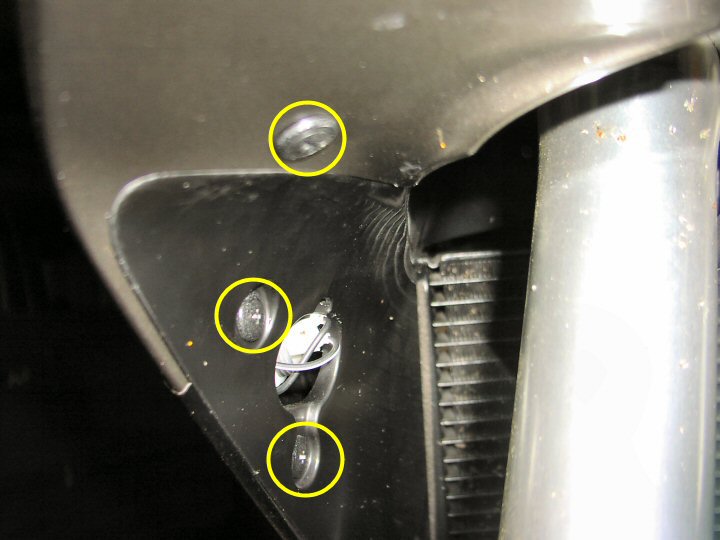 |
Now remove the three plastic body clips from the inner faring. There are two next to the turn signal mounting plates (not on my bike as my flush mounts needed the extra space, so I cut away the mounting area) and one just in front of them. Same thing here, just a 1/4 turn and pull then out. Right side shown, screws circled in yellow | |||
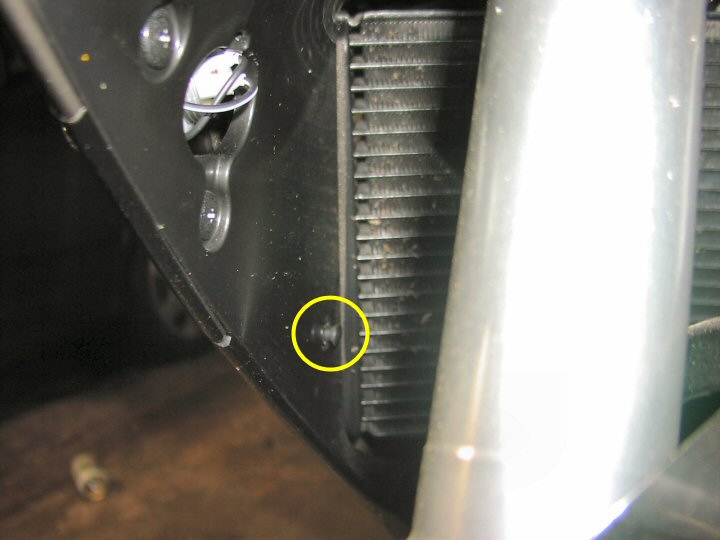 |
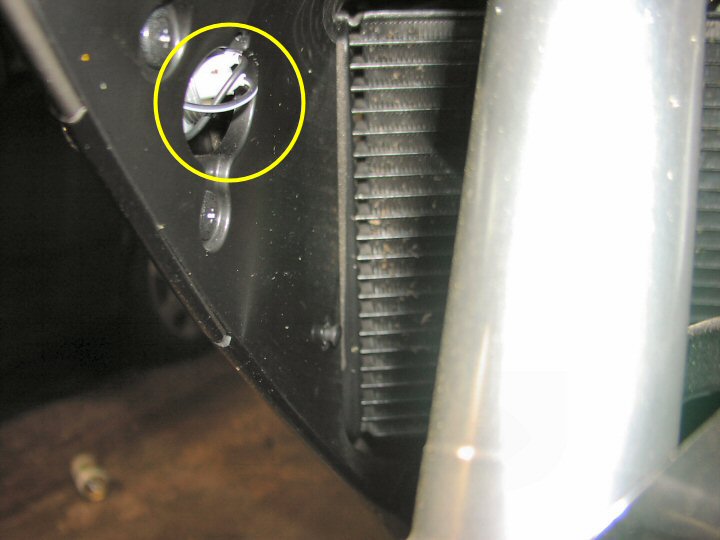
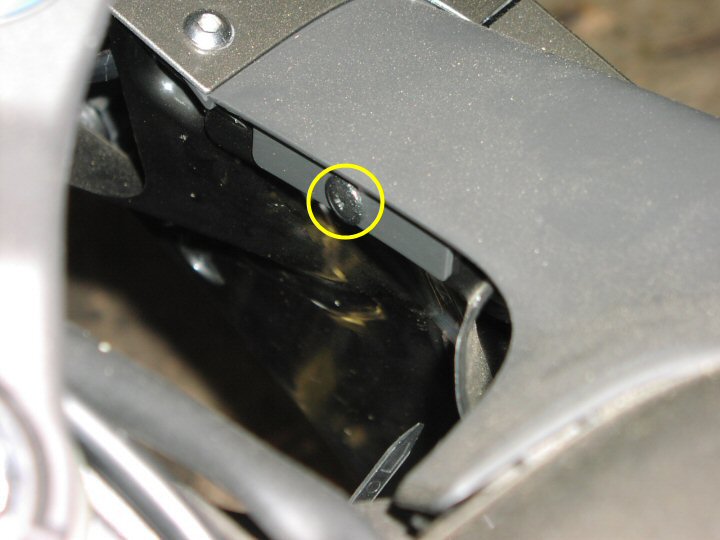
Now there is a different kind of plastic body clip next to the radiator. You just need to pull on this one, but don't try to pull it out. It will pop up and that will release the inner faring, I didn't need to totally remove it. Right side shown, clip circled in yellow | |||
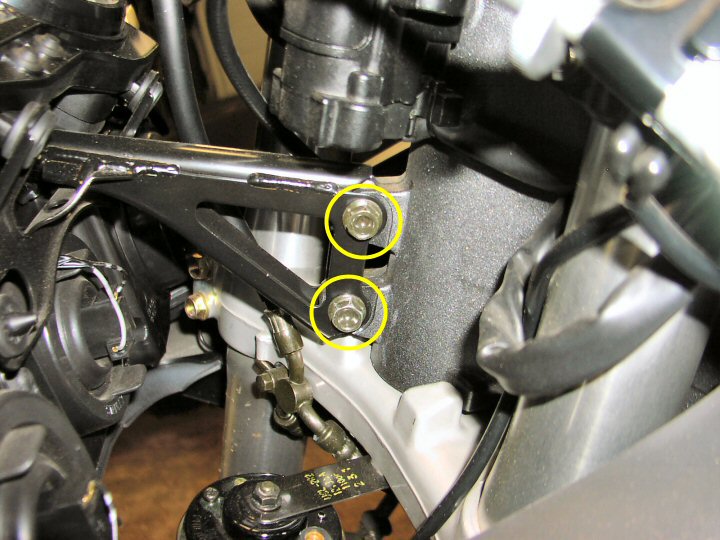 |
OK, now go get that helper (trust me it's much easier then trying to do it by your self). Now remove the two faring stay bolts. They're right under the ignition and can only be accessed from the left (clutch lever) side of the bike. Have your helper hold the front faring while you remove the bolts. Left side shown, bolts circled in yellow | |||
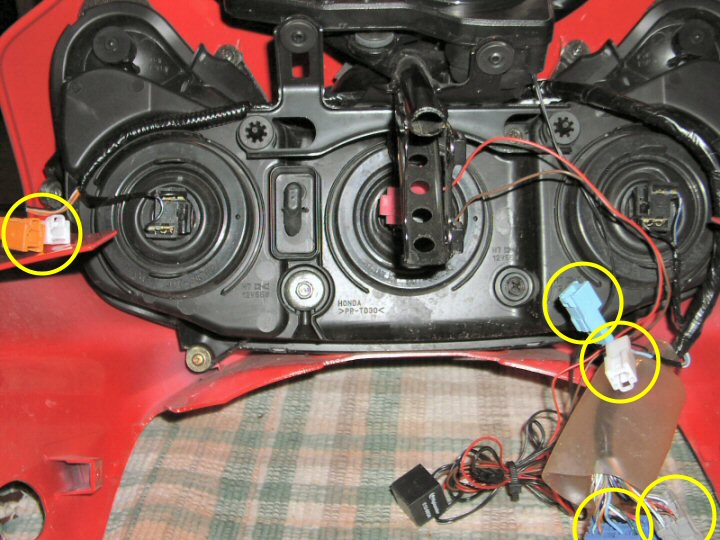 |
Almost done. Have you assistant pull the front faring away from the bike a little. On the right (throttle) side you will see two large bundles of cables, disconnect their plugs. Now you will need to disconnect the turn single harnesses (if you haven't already). There are two on each side, a orange and white one on the left and a blue and white one on the right. Once these are disconnected the front faring should come free. | |||
This site was last updated 05/03/04